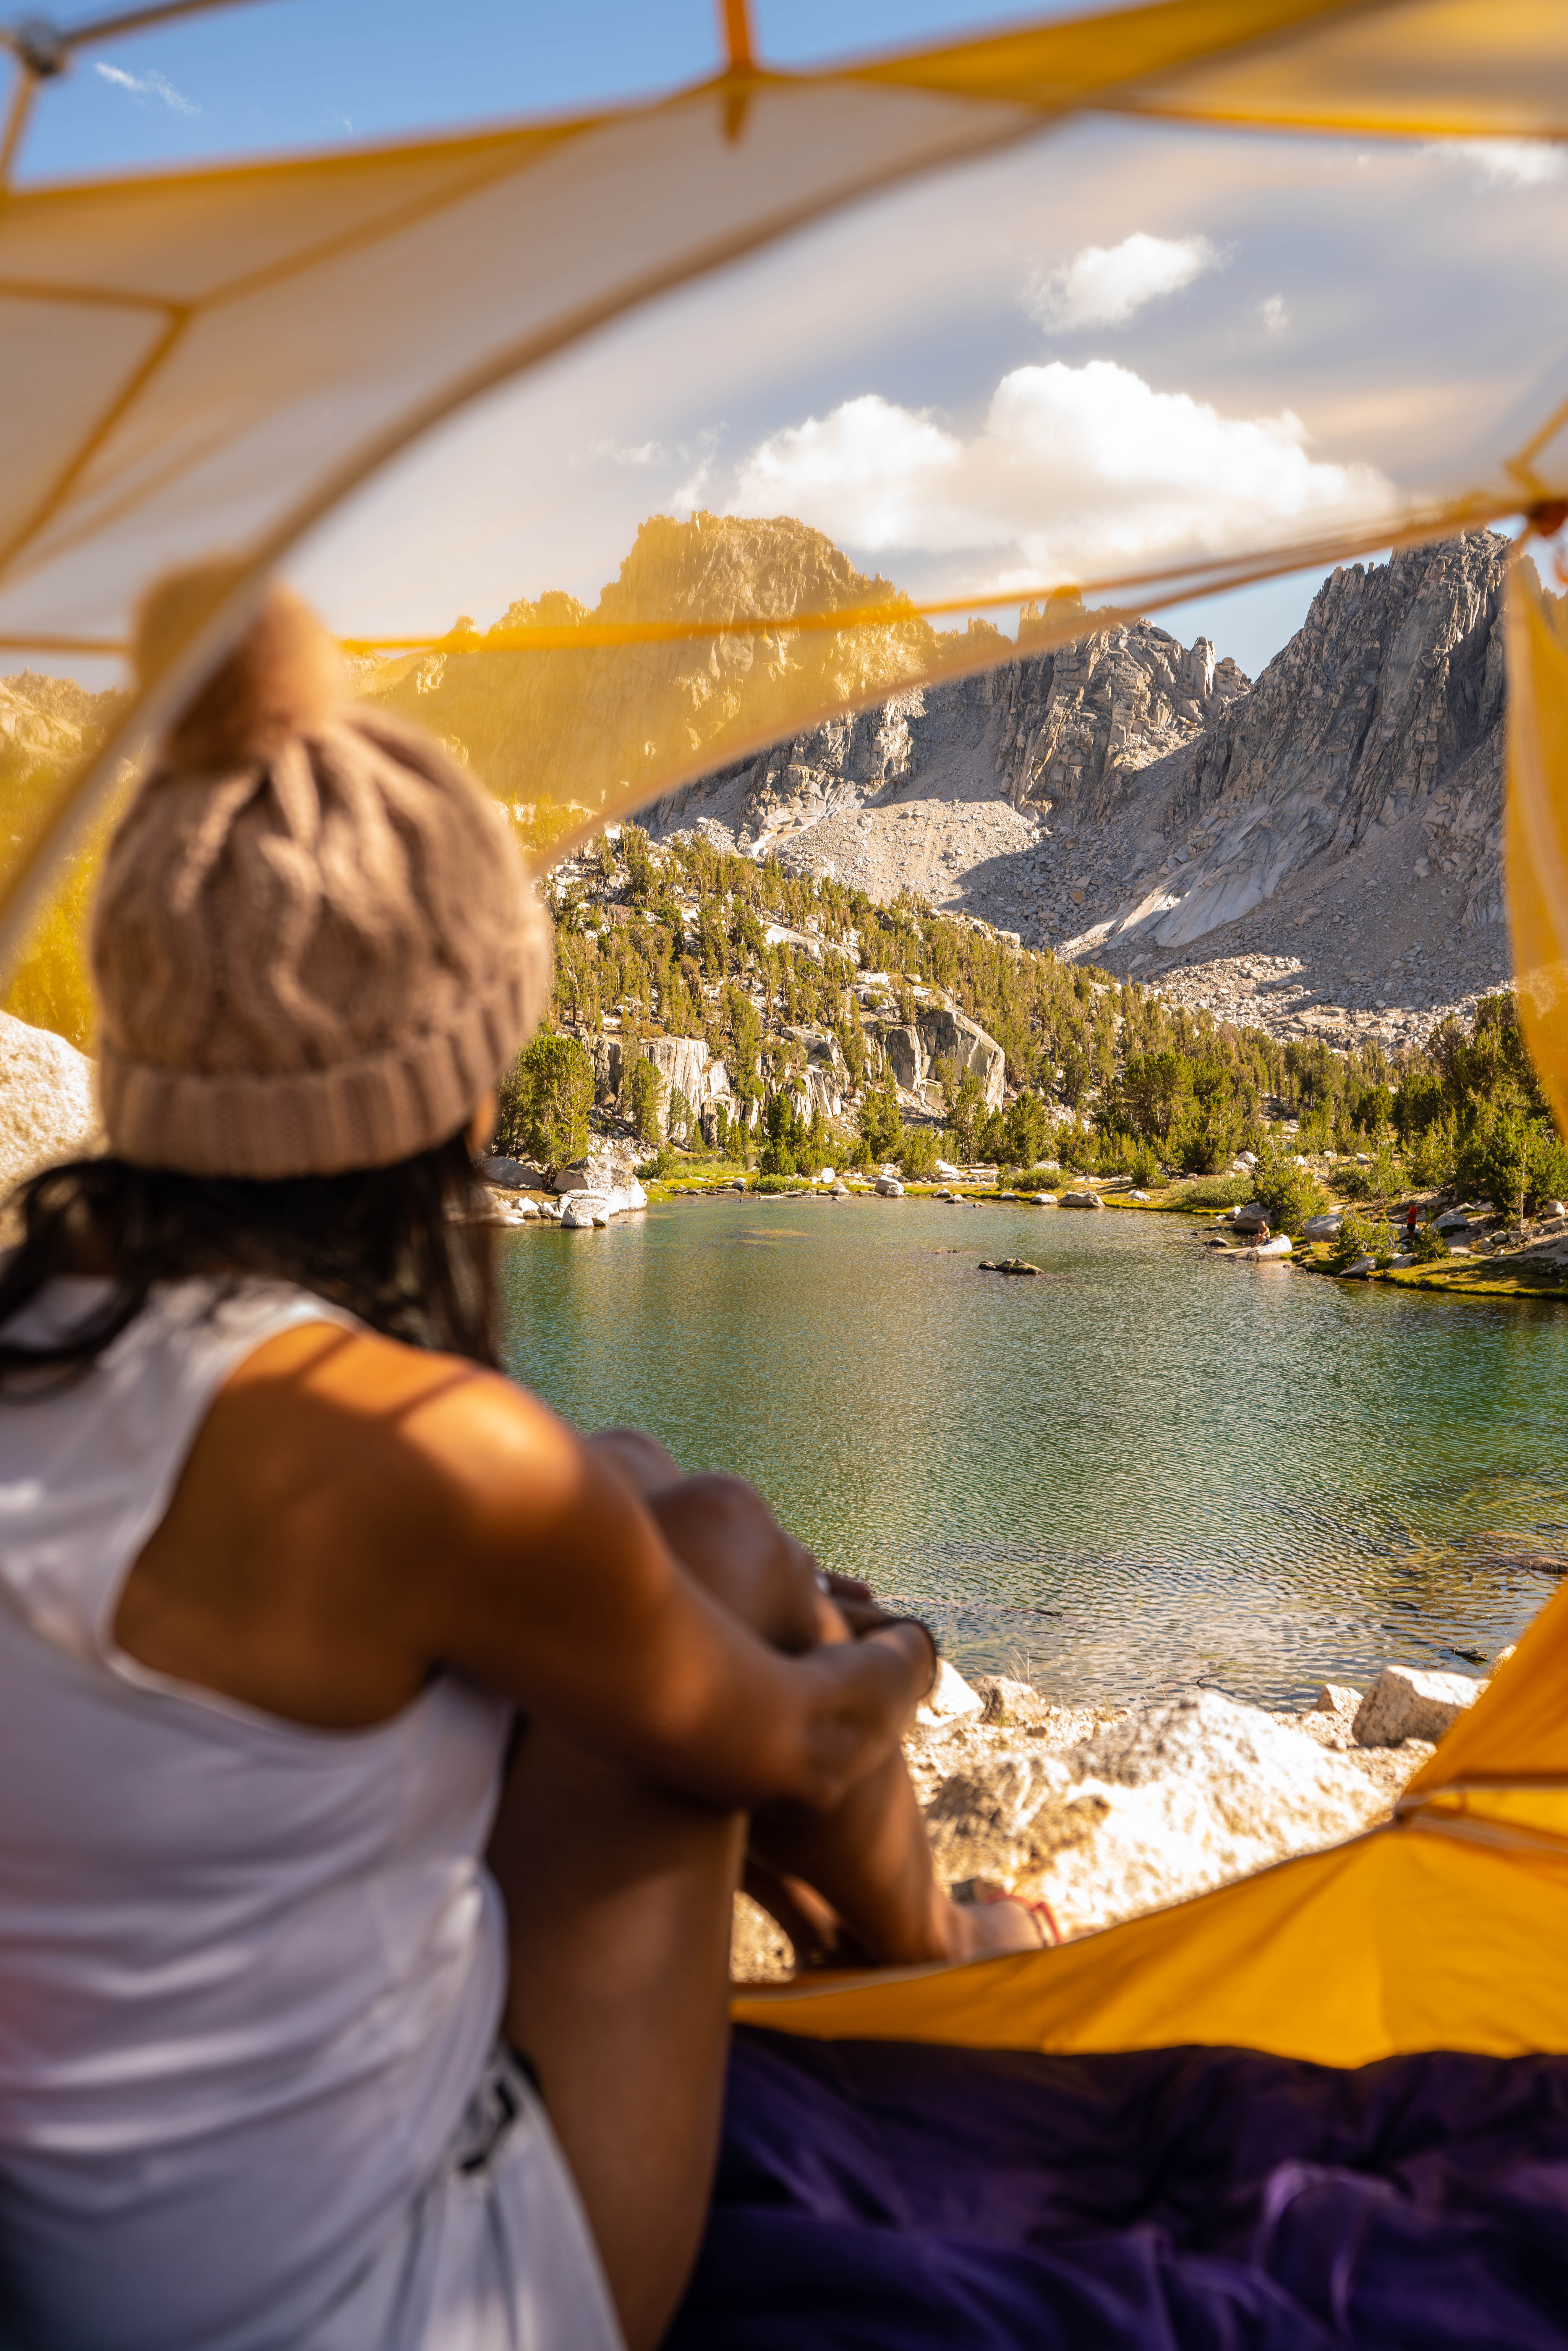
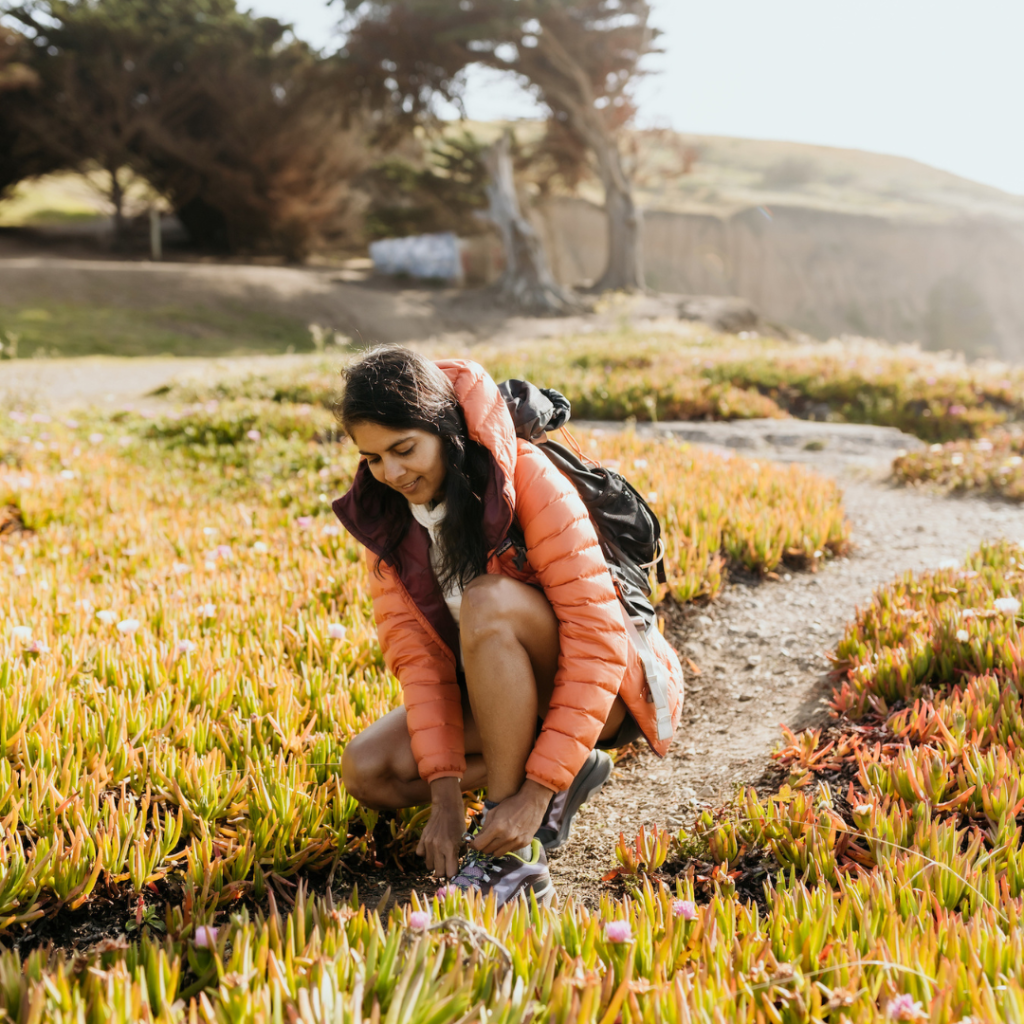
I didn’t grow up backpacking in the outdoors. I grew up in a city in India. When I immigrated to the States with my parents as a teenager, they were too busy trying to re-build their lives and I was too busy trying to adjust to a new culture. Therefore, as an adult, going backpacking or doing anything else beyond day hikes has always been intimidating to me. There was no one to learn from, and my parents didn’t really encourage me as they were too busy trying to re-build and survive. Plus, camping and hiking weren’t really part of the Indian culture either back then. But the idea of backpacking to remote places, spending the night under the stars, and being completely disconnected from the rest of the world, has always been fascinating for the explorer in me.
How I got into backpacking
That’s how I decided I want to try backpacking in 2009. I was hanging out in a volunteer organization where I met a few guy friends who put together a trip and we headed to a place called Inyo National Forest. The trail was the Piute/Lamarck Trailhead. Since then, it’s been tough to find people to go backpacking with and I branched off into hut-to-hut trekking, a passion my husband and I share together. He prefers staying each night in a hut versus camping on long-distance multi-day hikes.
My backpacking trips
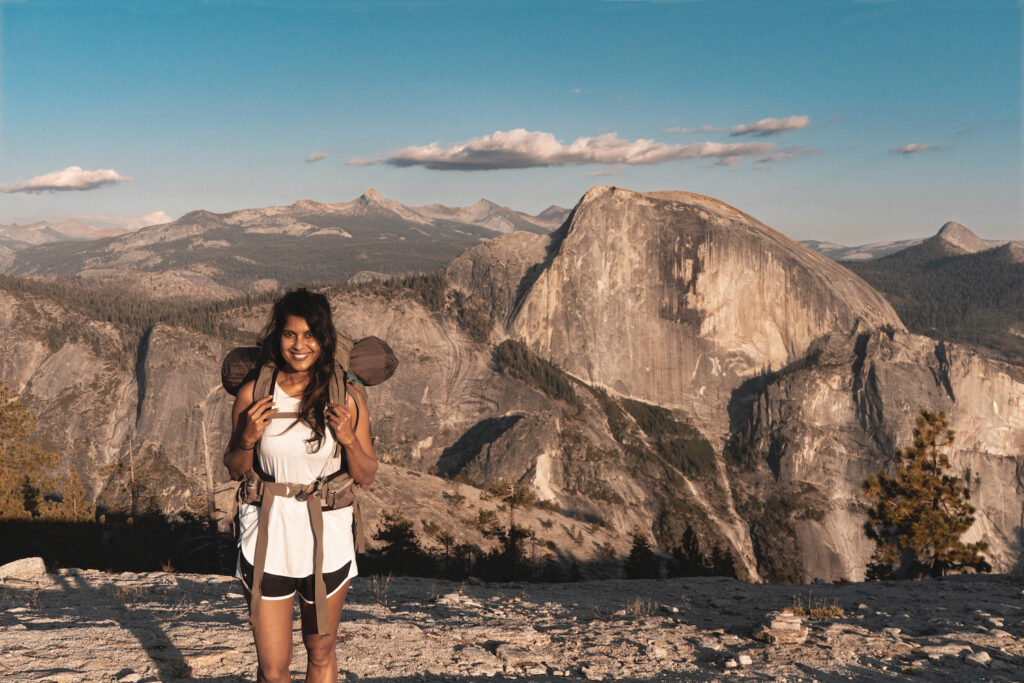
Thanks to the pandemic in 2020, I found that a few of my friends and I shared a similar interest in backcountry camping and we set off on two backpacking trips to Yosemite National Park and Joshua Tree National Park. Since then I’ve attempted two more backpacking trips in the Sierra in Inyo National Forest in 2021. Based on my experience, I’ve put together a backpacking guide for beginners to help first-timers be less intimidated. I hope this backpacking guide gives you the confidence to plan your first backpacking adventure.
1. Choose an easy destination for your first backpacking trip
Stay close to home
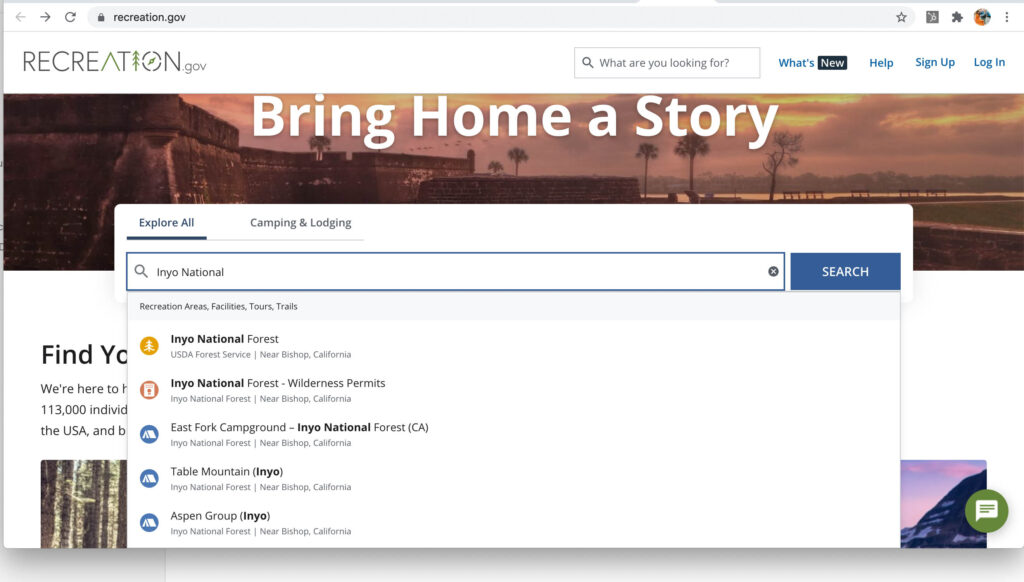
The trick is to choose a destination close to home for your first backpacking trip. This way if you don’t like it, and you want to cut short your trip and come home, you have the option to do so easily. It can be as unglamorous as the closest spot near your home (even if it is only 30 minutes away) that will allow you to backpack without having to travel too far. Find destinations on Recreation.gov. For example, if I wanted to see available wilderness permits for trails within the Inyo National Forest area, I would go to Recreation.gov and then type Inyo National Forest into the search bar and choose the second option you see in the image below.
Don’t hike too far
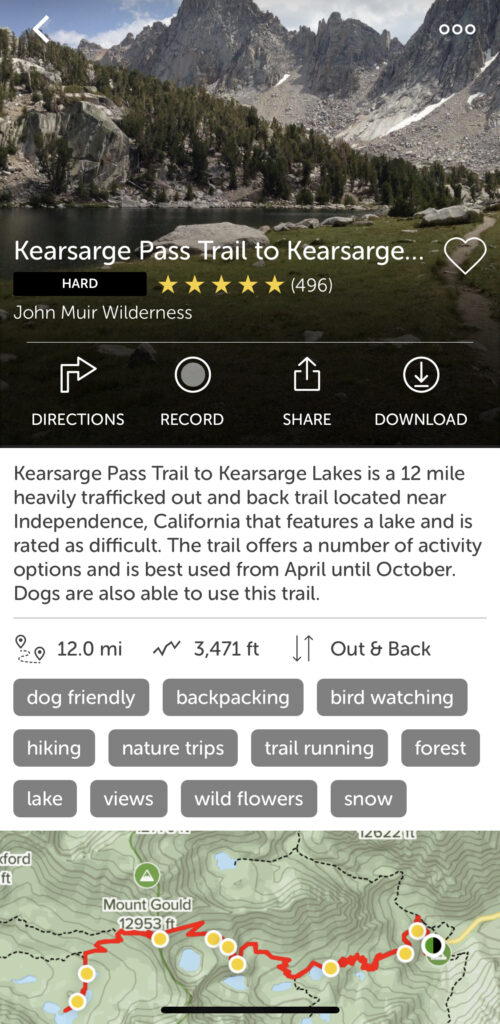
Pick a hike that is low mileage. Don’t pick a 16-mile one-way hike. The higher the mileage, the more remote you are and for your first time it’s best to stay close to where your car is parked. Alltrails will give you great information on the hike, including mileage and user reviews.
Avoid elevation
Your first backpacking trip shouldn’t be a high elevation hike. Keep it as low as possible so you can get a feel for carrying weight on your back. If you’re a beginner backpacker, you need to get used to carrying at least 22-30 pounds on your back for a steady period of time without your neck or back or other parts of your body crying out for help!
Plan your backpacking trip during good weather
This means ensuring you backpack during the summer months. Backpacking during summer will help you avoid rain and snow – elements that you don’t need to navigate on your first backpacking trip. First get used to backpacking in easy conditions and then tackle the more advanced stuff!
Pick a well-traveled and established trail
For your first backpacking trip, you WANT to have other backpackers near you. In case you need help, you have access to people. By picking an established trail, you don’t have to worry about getting lost, or drop-offs etc and can just focus on enjoying the journey.
Pick a place that has a water source
This goes for even advanced backpackers, but you want to choose a place that has access to water. You are going to need water for your food, for drinking as well as cleaning.
Skip the dog and the kids
For your first time, avoid taking your favorite canine companion or your kids. It can be a lot to handle for your first time as a backpacker.
Walk-in campgrounds
While this isn’t exactly backcountry, some state and national parks have campgrounds that are within a mile of a car campground. This could be a really nice way to transition to backpacking. I recommend the following trails in California if you are a beginner to backpacking:
- Cottonwood Lakes Trail, Inyo National Forest
- Coast Camp, Point Reyes
- Kearsarge Pass, Inyo National Forest
- North Dome, Yosemite National Park
- Ediza Lake, Inyo National Forest
- Iceberg Lake, Inyo National Forest
2. Backpacking Gear and Clothing
Backpacking Gear
When it comes to gear, I recommend making the one-time investment to buy the lightest gear possible. This will help reduce the overall weight of your backpack. For your first time, however, keep your investment low and try to borrow or rent the expensive gear like tent, sleeping back etc.
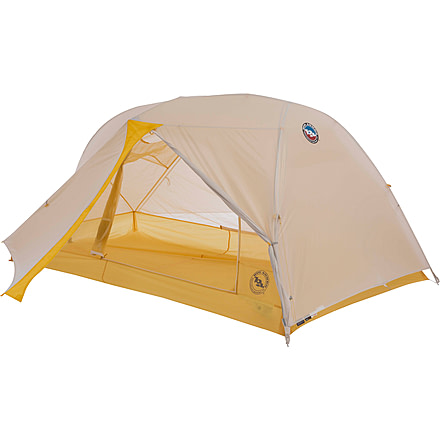
- Tent: Share a tent for your first trip. This cuts down your weight by having to carry only 1 vs 2 tents. Choose a tent that is light in weight. REI, Backcountry and Sports Basements are the three stores I frequent when buying gear. REI has an excellent link on how to choose a tent and best backpacking tents. I am currently using the Big Agnes Tiger Wall Ultra Light 2 person tent from Backcountry.com. I love how easy it is to set up. Tip: I practice setting it up at home before I take it to on my backpacking trip. This way, I feel more confident when I am in the outdoors.
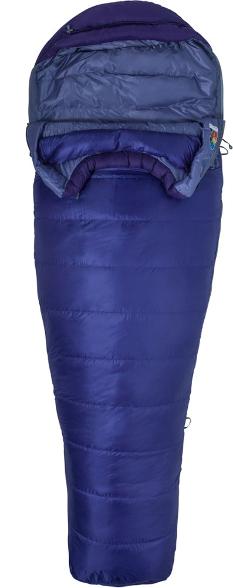
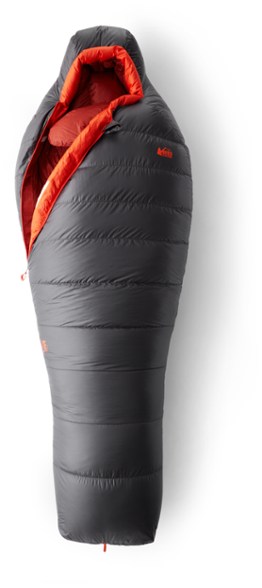
- Sleeping Bag: I bought both my sleeping bags from REI. One is a zero degree F Marmot Ouray 650-fill-power duck down sleeping bag (3 lbs. 10 oz.) which was perfect for my Annapurna Base Camp trip in Nepal, while the other is a sixteen degree F 850-fill-power goose down Magma bag (2lbs. 4 oz.) that’s good for Summer, Spring and Fall backpacking in the States. Here’s a link on how to choose your sleeping bag.
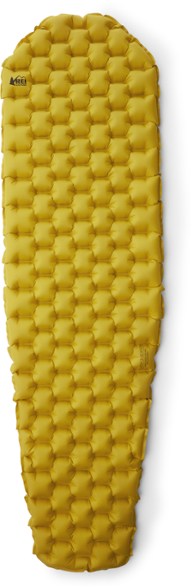
- Sleeping Pad: A sleeping pad is a must because the ground can get very cold at night. I got an inflatable sleeping pad from REI. This is a light option for backpacking. I also have to use all my strength to inflate it, but it’s pretty easy so I would recommend this pad.
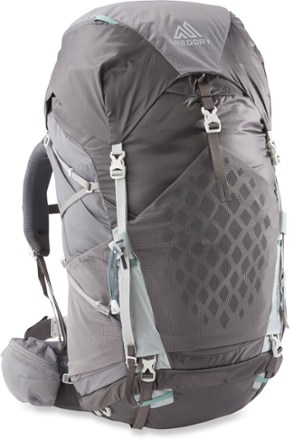
- Backpack: When choosing a backpack for backpacking, I highly recommend going into an REI or Sports Basement to have the backpack fitted for you. Both companies will have reps who can measure your torso length & hip size and recommend options accordingly. I am currently using a Gregory Maven 55Litre backpack for 2-3 night backpacking trips. The maximum weight I have carried is close to 30 pounds, including a camera and tripod.
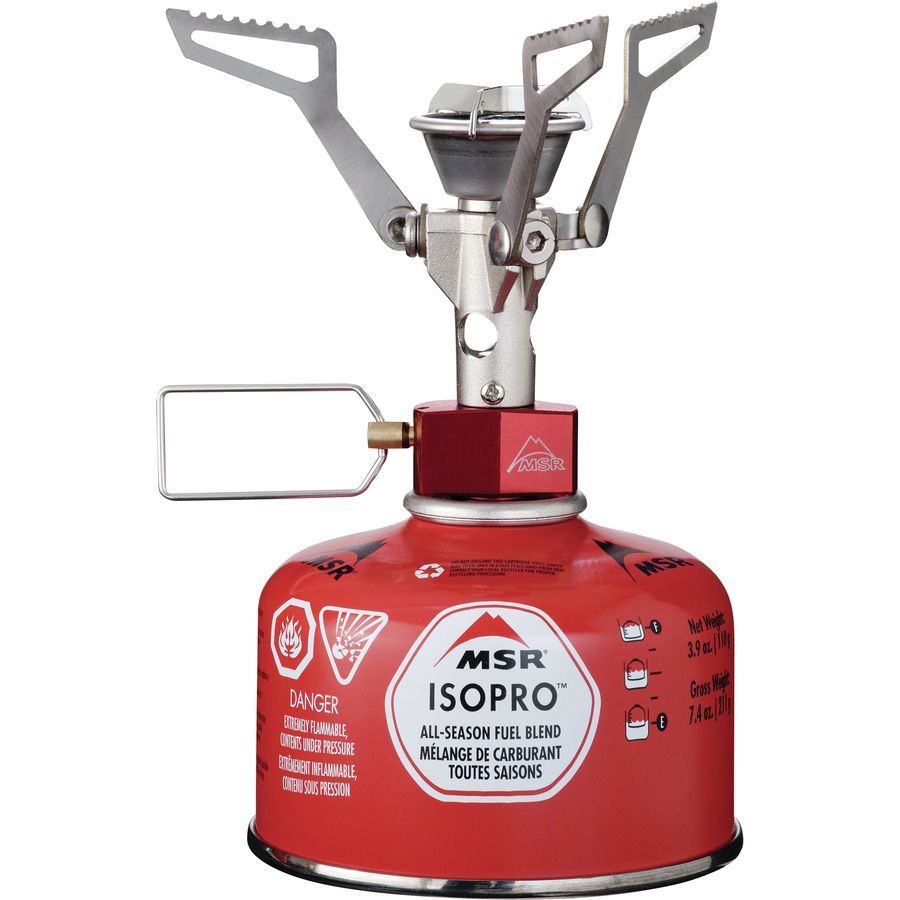
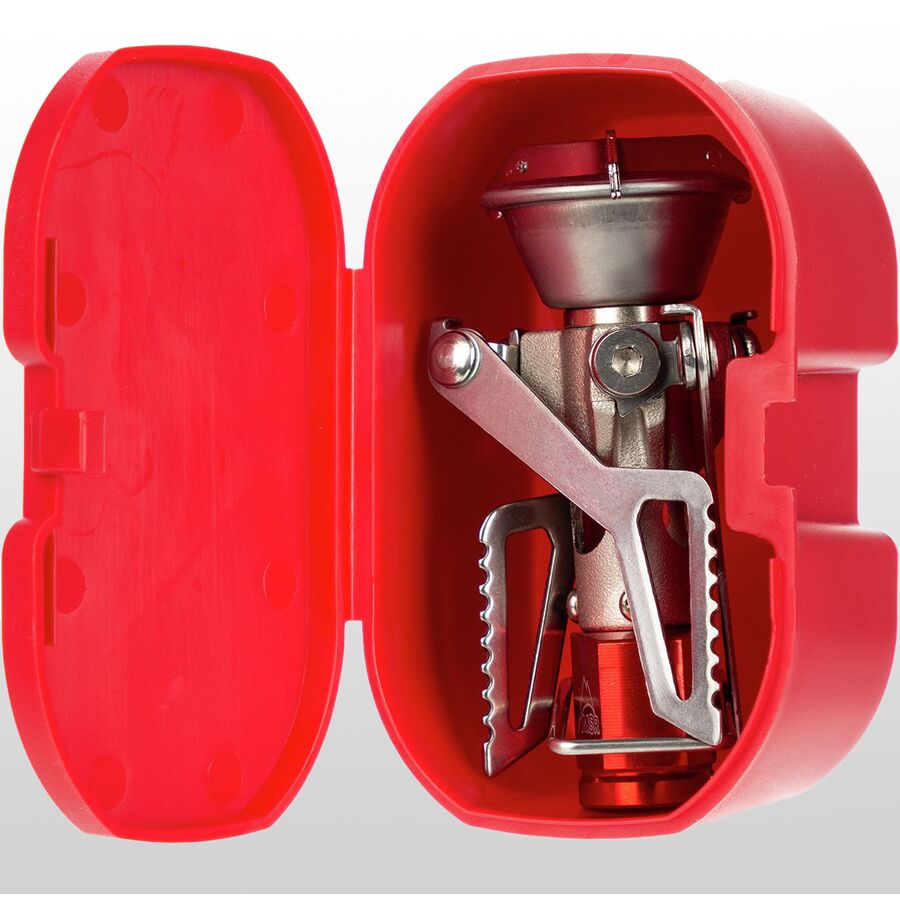
- Stove: I use the lightweight Pocket Rocket MSR ISO fuel canister with this stove.
- Water Filter: When in backcountry, assuming you picked a trail that has access to a river or lake, water filtration is critical to avoid contamination. There are several options for water filtration devices. I’ve tried using a pump, a Steripen and a collapsible water filter bottle. My favorite is the collapsible water filter bottle like the Katadyn BeFree. The Steripen can be unreliable and the pump is heavier than the water filter bottle. Click here to read more on how to choose a water filtration system when backpacking.

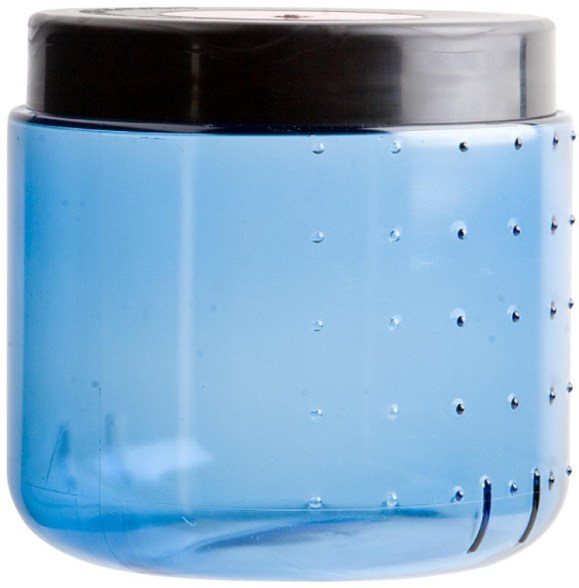
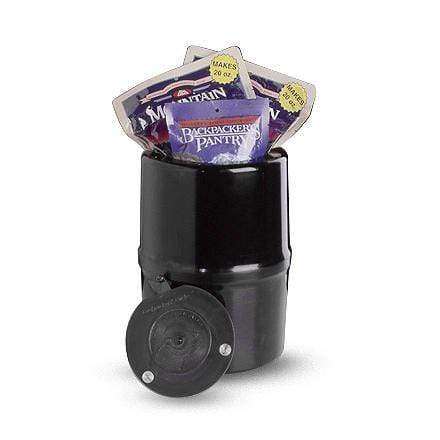
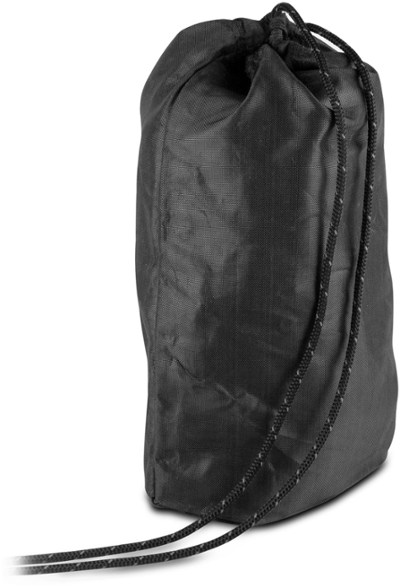
- Other: Apart from the gear listed here, you may need a bear canister if you’re going to be camping in backcountry that has bears. Bear canisters are easy to rent and a must for storing food when you’re in ‘bear’ country! Tip: These blue color bear canisters below are super challenging to open. Look into the black color bear canister options or even an Ursack, for bears and critters. You may also want to carry a bear whistle or bear spray (check destination rules regarding carrying bear spray as it is illegal in some places).

Blue color bear canister Black color bear canister Ursack
3. Pooping in the Wild
So growing up in India, I did not have a western toilet in our apartment. The Indian toilets, are otherwise known as the squat toilets. You basically squat over a hole in the bathroom to poop and pee. When in the outdoors, you follow a similar concept of squatting. I find it quite easy, but I know others may find the idea of squatting out in the open over a man-made hole rather daunting and uncomfortable when backpacking.
How to poop in the wild
In order to actually feel like pooping, I will usually drink a cup of hot tea, followed by water after I wake up. I may even have breakfast before I start feeling the urge to go. When you get the urge, find a spot 200 feet from water sources and trails, dig a small hole six inches deep with a shovel, and squat over it. Hopefully you will be pooping in no time. Once you’re done, clean yourself up with toilet paper or wet wipes (I prefer this).
Burying or packing out your toilet paper
Some national parks will say it’s okay to bury the toilet paper along with the poop (basically use the shovel to fill the hole with dirt) when backpacking. But in general, it’s good practice to pack your used toilet paper in a ziploc bag which can then be put in one of the outer pockets of your backpack and carried out after your trip has ended. This is because if toilet paper is buried, it may take a long time to decompose. In addition, if animals end up digging the spot where your poop and toilet paper are buried, we want to prevent them from ingesting the toilet paper.
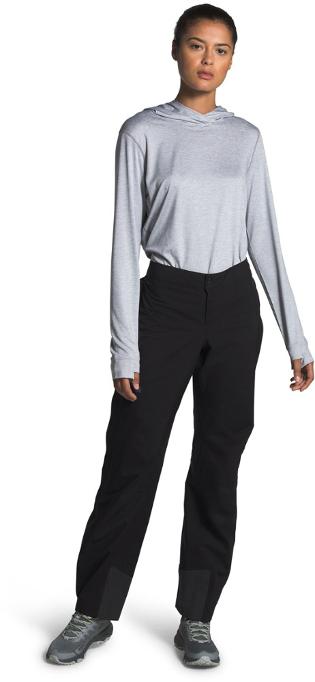
4. Backpacking Clothing
Believe it or not, I have been using the same hiking clothes for the past ten years! I also wear the same clothes every day when backpacking. Fortunately, although I sweat a LOT when hiking, I do not smell. I also wear moisture-wicking non-cotton clothing. Moisture wicking fabric like nylon and polyester pull sweat away from the skin to keep you dryer. Below is how I pack for my backpacking trips (note: if you are new to backpacking, just wear what you would wear for a workout so you don’t end up spending money on clothes, but there are some key items like rain and layering gear that are non-negotiable).
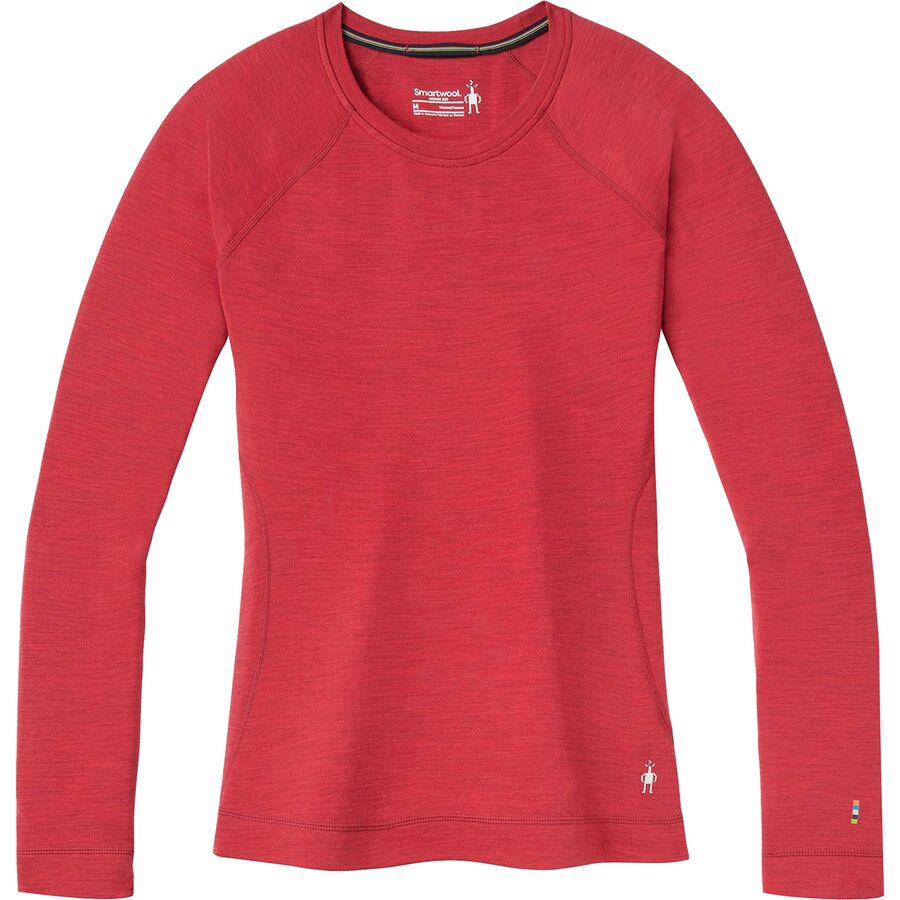
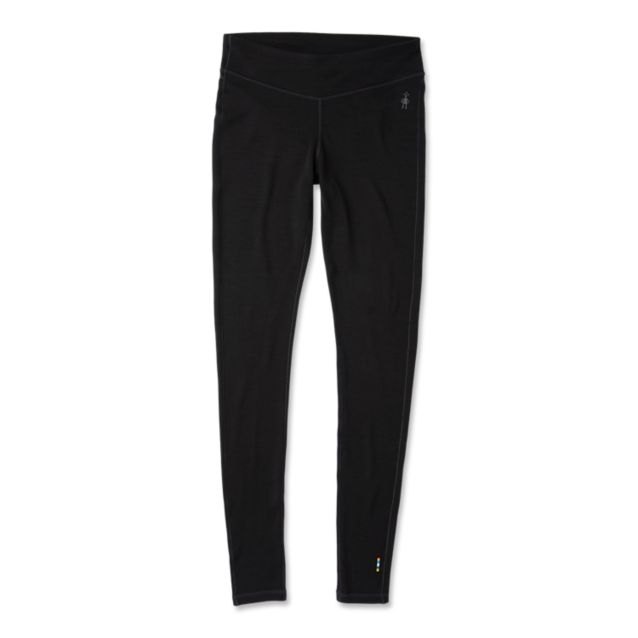
- Base Layer: The base layer top and pants are perfect to hike in on a cold day. If it is a warm day, then check if the temperature drops at night. In this case, the base layer top/pants can be worn around the campsite and even to sleep in.
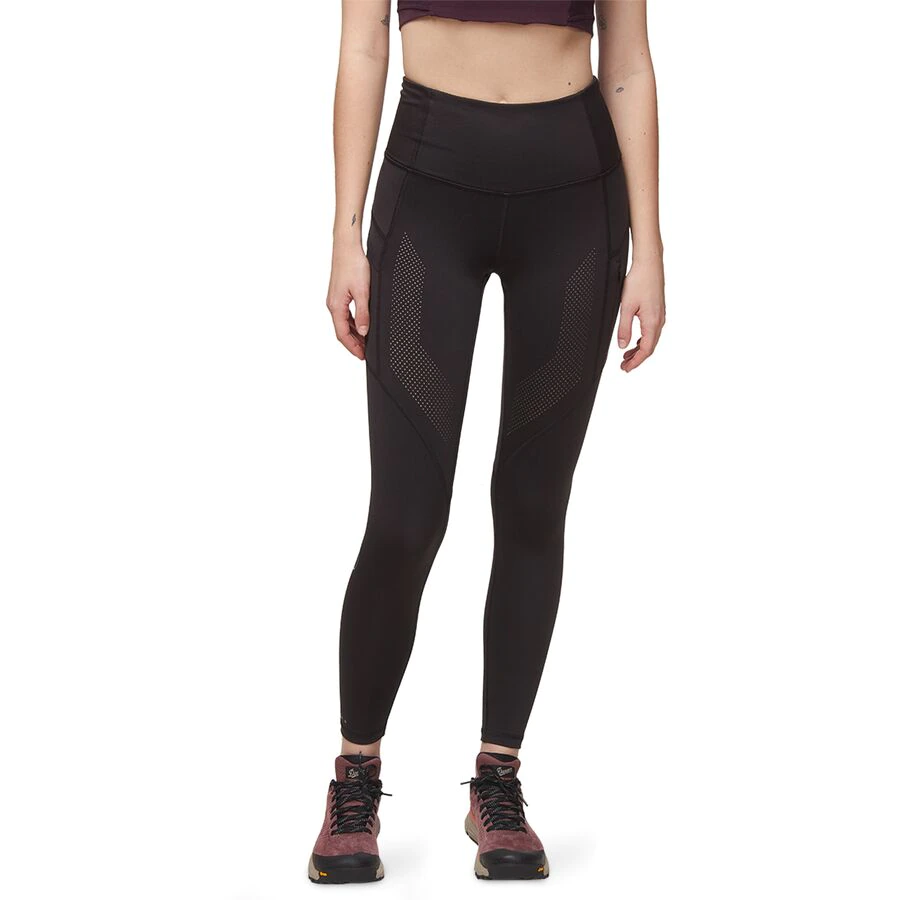
- Hiking pants: I usually like to wear shorts if it’s going to be a warm day because I find the loose fabric the most comfortable. I don’t like wearing super tight fabric that cup my legs and buttocks for hiking. On colder days, I use hiking pants from REI that convert into shorts. On occasion, I use a pair of black leggings from Backcountry. I find the Backcountry Green Mountain Trail Tight quite comfortable and I’ve used them for day hikes.
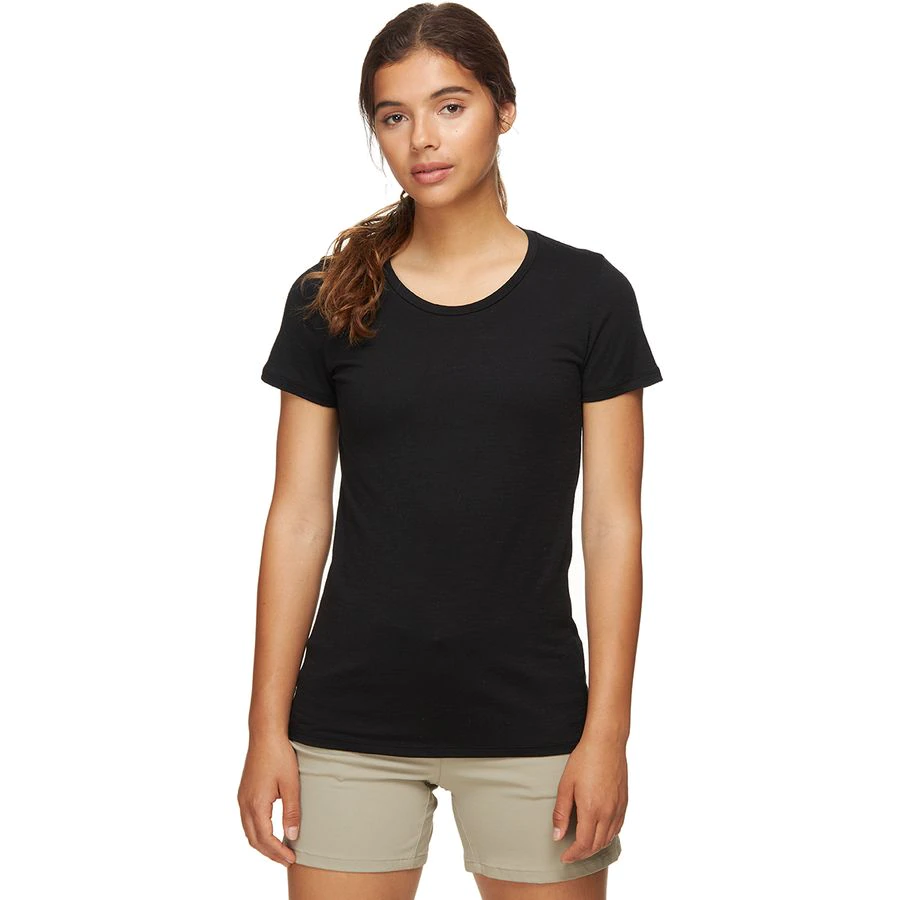
- Hiking tops: I recently tried the Icebreaker Tech Lite SS Low Crewe Shirt (short sleeve) and wore it during the three days I was backpacking. The shirt didn’t smell! If you need a full sleeve option for sun protection, try the Icebreaker Sphere LS Low Crewe Shirt. I love any merino wool top because they are odor-resistant, moisture wicking, and quick drying.
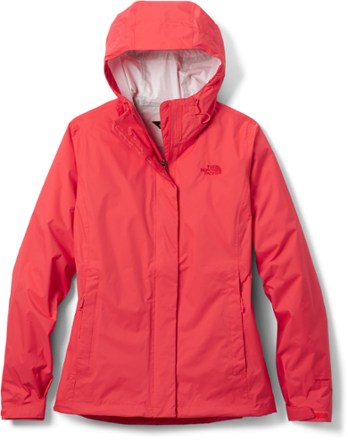
- Raingear: I swear by the North Face rain pants and the North Face rain jacket during backpacking. When I backpacked around in Chile, it rained and hailed. Both the pants and the jacket kept me DRY. It was incredible. That’s when I realized the power of investing in good gear. I have used these pants and this jacket for the past decade.
- Sports bras: I would recommend carrying at least 2 sports bras for a backpacking trip. Especially if you sweat a lot, having a second one for day 2 can be helpful. You can then wear the first sports bra on day 3 because it would have completely dried by then. Tip: I put any wet clothes outside my tent to dry during the daytime. At night, I will put those items inside my sleeping back so they stay warm.
- Pajamas: I will use the base layer pants and top as my pajamas. The zero degree and sixteen degree sleeping bags are pretty warm so having a base layer to sleep in should be fine.
- Jackets: I use the Patagonia Hi-Loft Hooded Down Sweater jacket for when a down jacket is required.

- Layering: Typically you will start with a base layer top, or just a t shirt then add on a fleece if it’s cold, a down jacket if it’s colder and finally a rainproof shell and pants in case of rain. The rain gear will protect you from getting wet and still enable you to hike in case of bad weather.
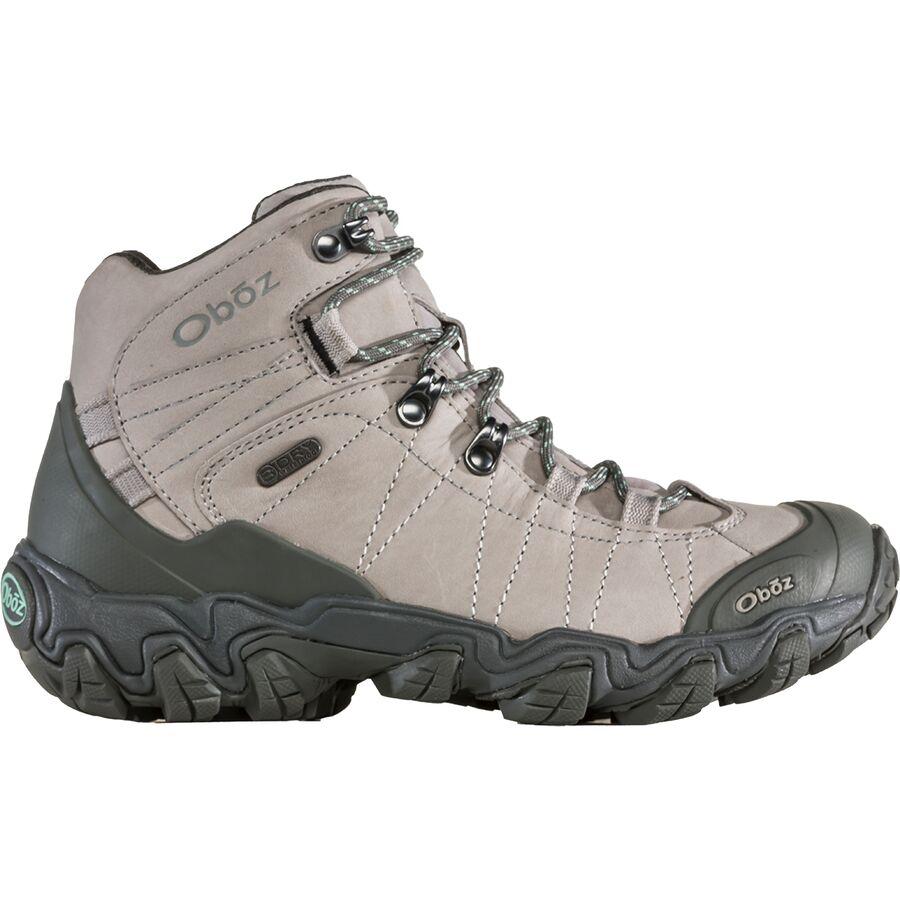
5. Hiking Boots
My go-to hiking boots is Oboz footwear. I would highly recommend ankle support hiking boots because you never know what terrain you may be hiking on. Ankle support boots may be heavier/stiffer, but they are better for multi-day or long-distance hiking especially if you are carrying a backpack with more than just a few pounds. Backpacking with blisters or with your toes hitting the front of the boots on your downhill trek is no fun. So do yourself a favor and get yourself a fantastic pair of hiking boots. You will thank me later.
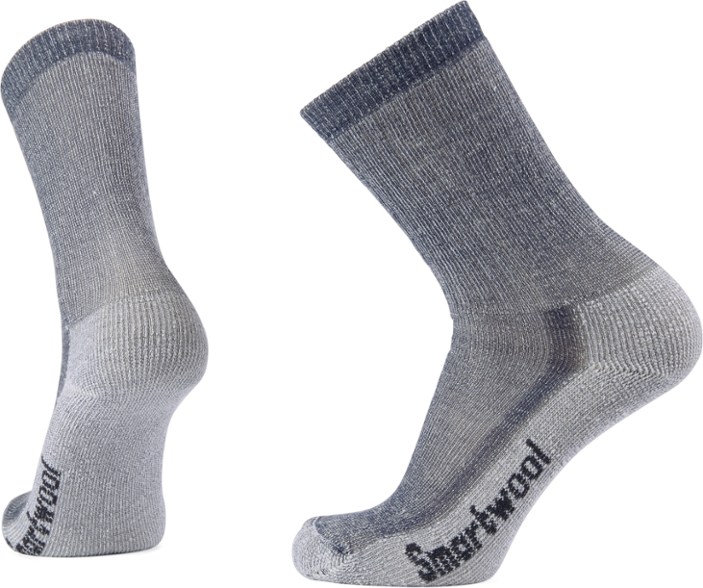
6. Hiking Socks
My go-to hiking socks for a multi-day backpacking trip is Smart Wool hiking socks. The high Merino wool content offers superior breathability, moisture-wicking properties, advanced temperature regulation, odor resistance, and natural protection from the sun — so that you can stay warm, comfortable, and dry when braving the great outdoors. The last thing you want to be worrying about is blisters and odor. I recommend you carry two pairs of socks, in case one gets wet in the rain etc, you have the second pair to switch into.
7. Backpacking Food
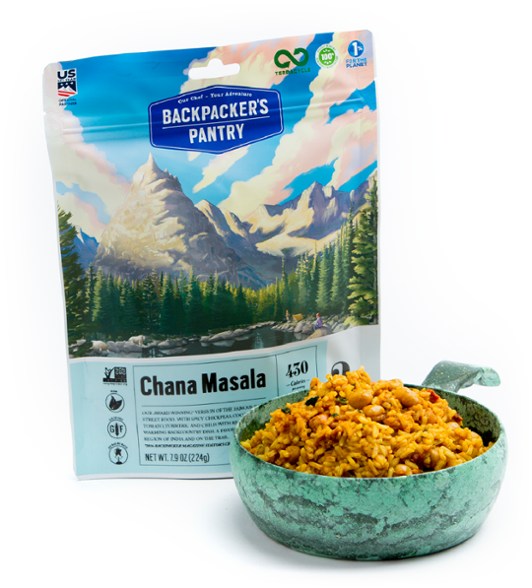
Dehydrated food
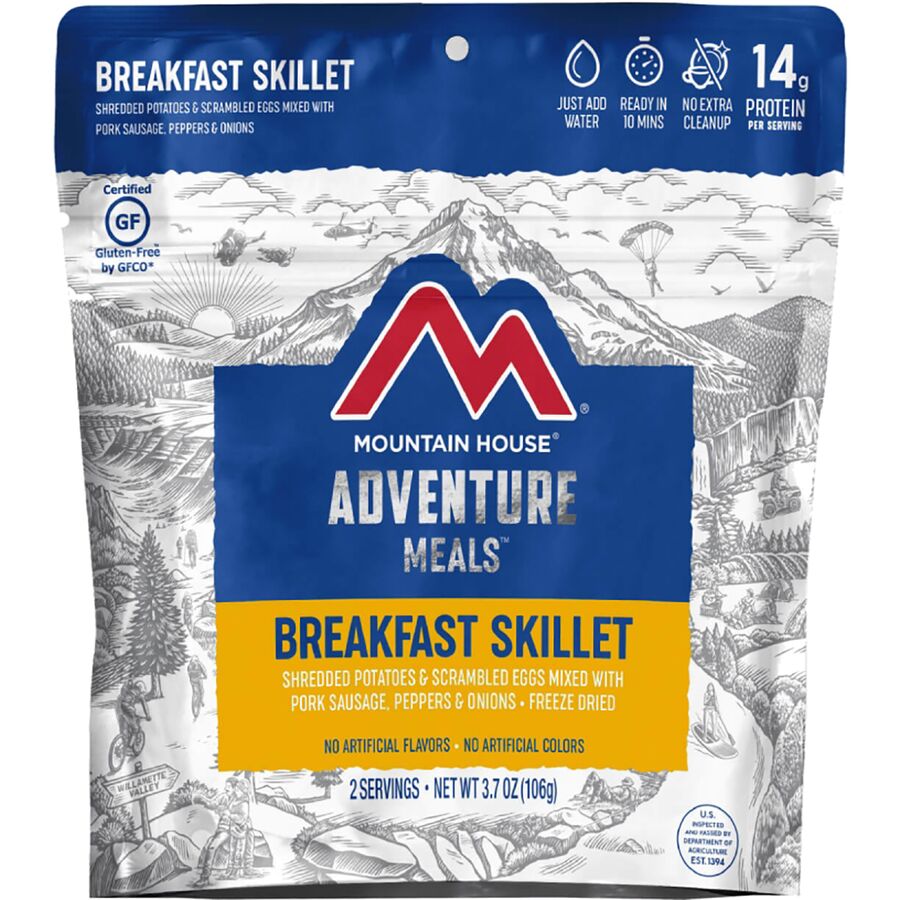
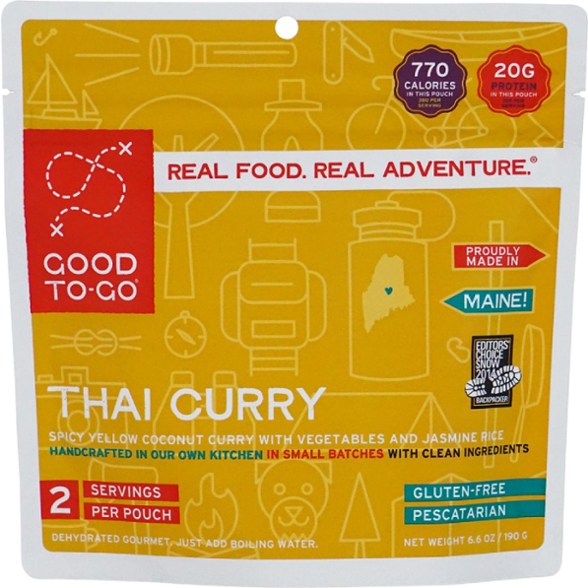
I have experimented with Backpacker’s Pantry, Mountain House Adventure Meals, and Good To-Go dehydrated foods. I enjoy Backpacker’s Pantry Chana Masala for when I want Indian food in the outdoors. The Good To-Go meals are gluten free and I enjoy their Thai Curry for dinner in the outdoors. Mountain House Adventure Meals has some terrific breakfast options like Granola with Milk and Blueberries. I love this because it only requires cold water to cook and I don’t have to deal with boiling the water on the stove. Plus it tastes awesome! Dehydrated food packets like the ones mentioned above are the most popular backpacking options because they are lightweight, and involve only adding hot or cold water for the food to cook.
How much food to pack
For a two night backpacking trip, I will plan for two breakfast packets, two dinner packets and protein bars and trail mix for two lunches. The day I start my road trip I will usually have breakfast at home, get lunch on the road and grab dinner on the road to eat at the campsite, therefore I don’t account for any food packets for this day. On my recent backpacking trips I have also started taking GU Energy Gel (during the hike as a snack), and Nuun hydration drink mix (before the hike) for some electrolytes to help my body stay hydrated.
8. Backpacking Checklist
9. Communication devices in backcountry
The Garmin inReach Mini is a two way texting device that is compact and easy to carry when backpacking. It is a great device to have in backcountry if you want to send a quick message to a loved one. One downside with the Garmin inReach is that it isn’t a navigation device. The Garmin inReach Explorer+ will however provide you a full fledged GPS, but it is heavier. You can also decide if the Spot beacon is right for you. I generally like to use Alltrails (the paid version) for navigation. When I don’t have cell connection, I can navigate using the downloaded offline maps for a specific hiking trail.
10. Tips
- First-aid kit: This can be helpful if you get blisters because the first-aid kit contains moleskin which you can use on your blisters. Moleskin is an anti-blister remedy that prevents blisters and hot spots by protecting feet from friction and pressure inside shoes.
- Mental Attitude: Backpacking is not just about being physically ready, it’s also about being mentally ready. You will be more confident if you check your gear ahead of time, get your backpack fitted at a sports store, figure out how to pack your backpack so that it is balanced well on your back, learn to pitch your tent before your trip, fire up your stove, know how to light it, and learn basic map and compass navigation. REI has some excellent courses on compass navigation that is a must for everyone going into backcountry, even if you are with a group.
- Use the checklist to make sure you haven’t forgotten critical items like contact lens case for your eyewear etc (I forgot this once)! This is an important step, not just for beginner backpackers, but for all backpackers.
- Leave No Trace: This means whatever items you bring on your backpacking trip, you need to take it all back with you once you’re done with the trip. For example, once you are done eating your food, you will need to store the empty food packet with you until the end of your trip and carry it back out with you.
- Logistics: Make sure you have double checked your permit reservation. Print out your permit, sign and keep a copy on you during the hike.
11. The ten essentials
Packing the ten essentials whenever you are planning a backpacking trip is good practice. Here is the list from REI.
- Navigation device
- Headlamp
- Sun protection
- First aid (insect repellent too)
- Knife (+ gear repair kit)
- Fire (matches, lighter, stove)
- Shelter
- Extra food
- Extra water
- Extra clothes
Conclusion
In conclusion, backpacking can be a lot of fun but the key is to be well prepared so you can enjoy yourself on the trail. Let me know in the comments if you feel more empowered to try out a beginner’s backpacking trip in the near future after reading this blog. If you would also be interested in joining a beginner’s group trip with me, please drop me a comment with the best email address to reach you at.


16 Responses
This is a great guide Preethi. Thank you for putting this together. Really helpful for someone like me who wants to go backpacking, but doesn’t know where to start.
Really enjoy your Instagram page as well. Cheers!
Yay I’m so happy to hear that! What other info do you need to plan your own trip? If there are any other questions let me know 🙂
This is super helpful! Everything I need to have and know. Feeling less intimidated. Thank you!
YAY so happy to hear that!!!
Thank you so much for all of this. I have been wanting to get out and do this myself. I would love to do this with a small group for the first time. I’m irrationally scared of bears.
I am working on putting a group trip together and yes I can totally understand the bear fear! The whistle and bear spray are key! And ear plugs to just be able to sleep!
Good info.Helps Many. Thanks for your time.
Thank you so much!
Great Info thanks.. you are inspiring me to start backpacking too. I want the initial few trips to be easy and well prepared so I can keep myself motivated lol.
100% thats the way to go 🙂 Glad you found this helpful 🙂
Thank you for this extremely useful guide Preethi! Very much excited for my first ever camping trip to Joshua tree. Your guide is really of great help. Thank you. You are amazing 😀
Yay so happy to hear this 🙂 Good luck and let me know how it goes!!